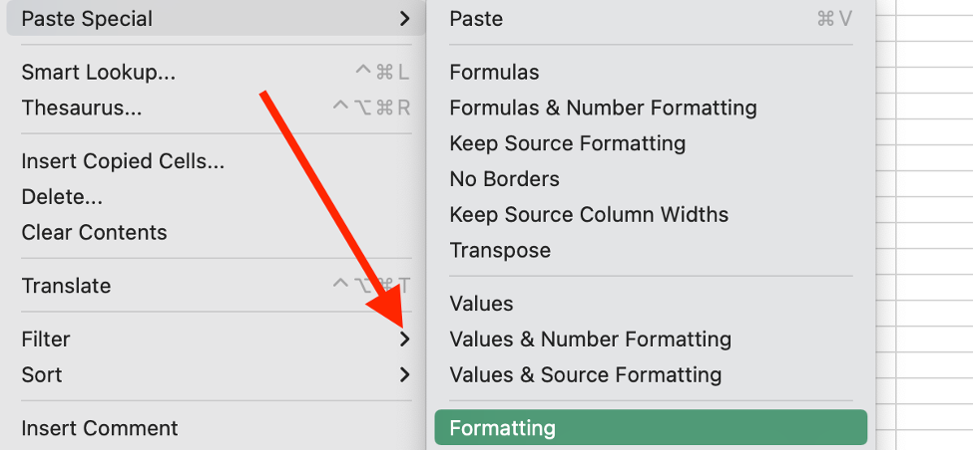
This post will explain how to export Excel data to text files in Excel using VBA code. This post will show you how to export one sheet to text files in Excel, which can be useful if you need to extract data from Excel and use it in another program that requires a text file format.
You can easily select the data you want to export, specify a file name and location for the text file, and then generate a text file that contains the data in the format you need.
Export one Single Worksheet to Text File
If you want to export a single Excel sheet to a text file, follow these steps:
Step1: Open the Excel workbook that contains the sheet you want to export.
Step2: Click on the sheet you want to export.
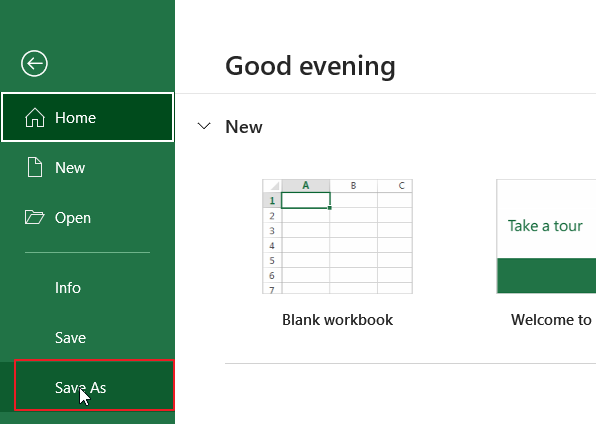
Step3: Click on the “File” tab in the ribbon menu.
Step4: Click on “Save As” in the left-hand menu.
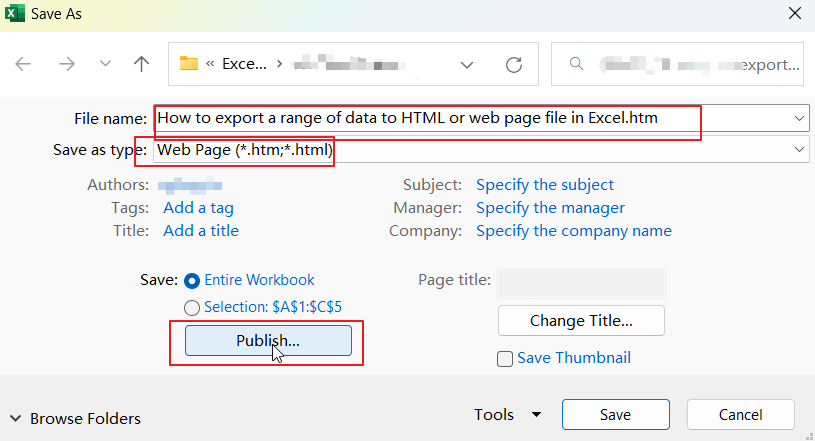
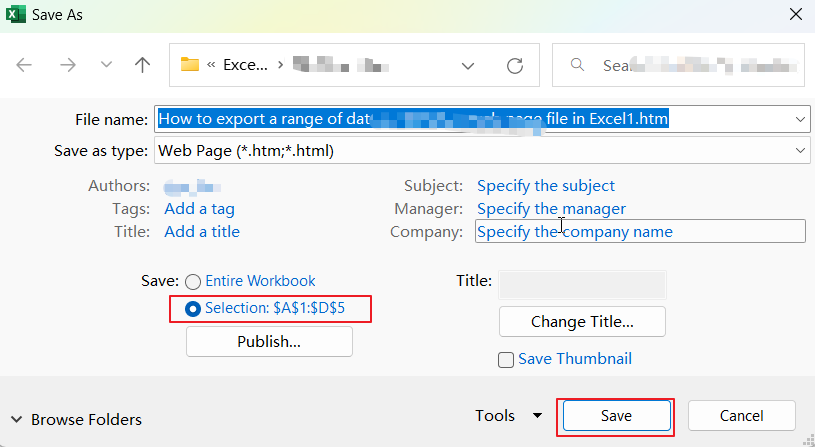
Step5: In the “Save As” dialog box, choose the location where you want to save the text file.
Step6: In the “Save as type” dropdown menu, select “Text (Tab delimited) (*.txt)“.
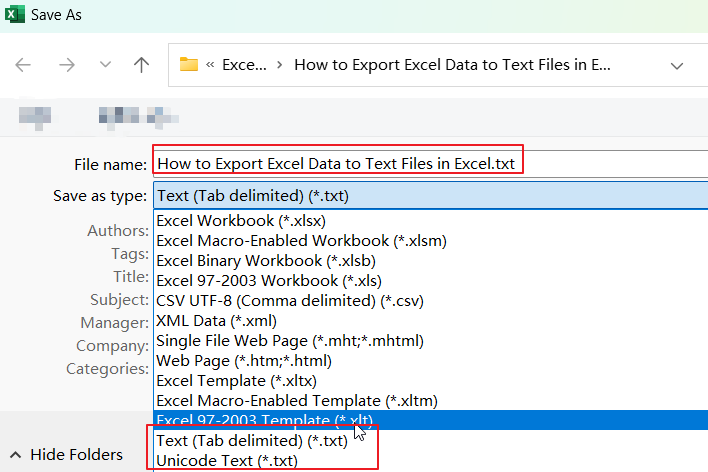
Step7: Click on the “Save” button.
Export one Column or Selection to Text File with VBA Code
You can use VBA code to export a selection or one column to a text file in Excel. Here are the steps:
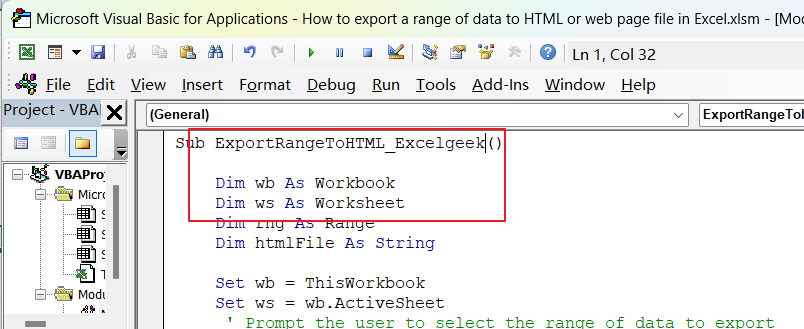
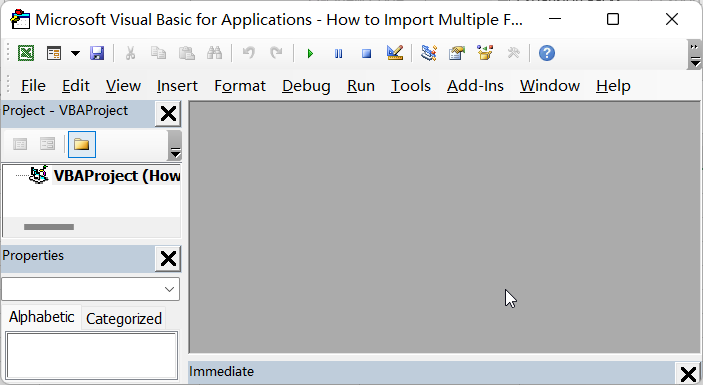
Step1: Press “Alt + F11” on your keyboard. This will open the Visual Basic Editor window.
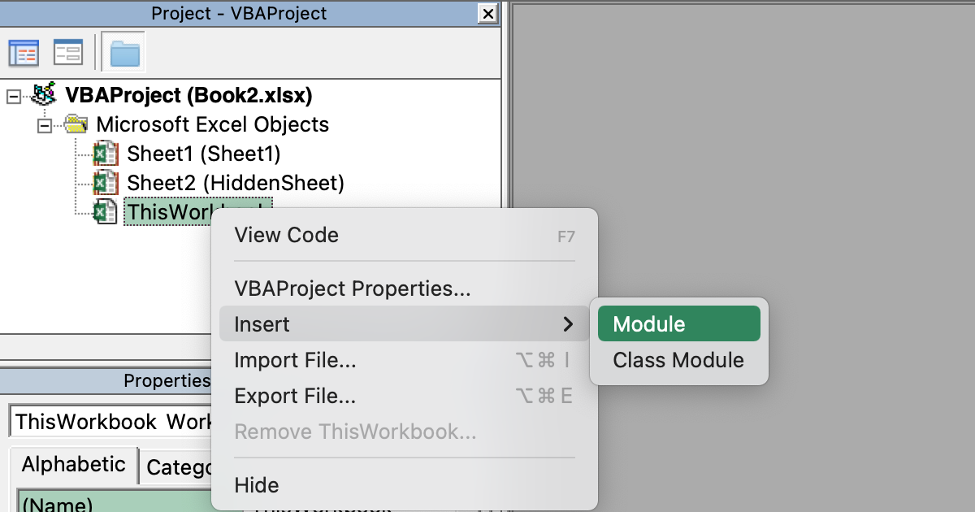
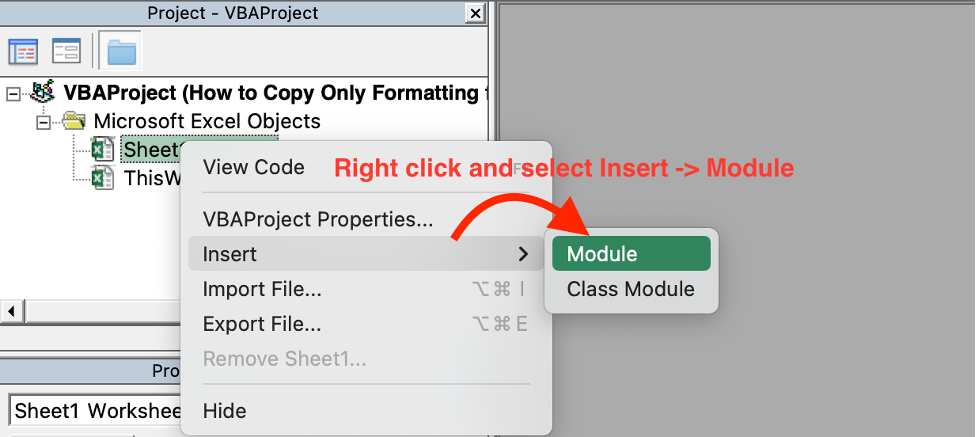
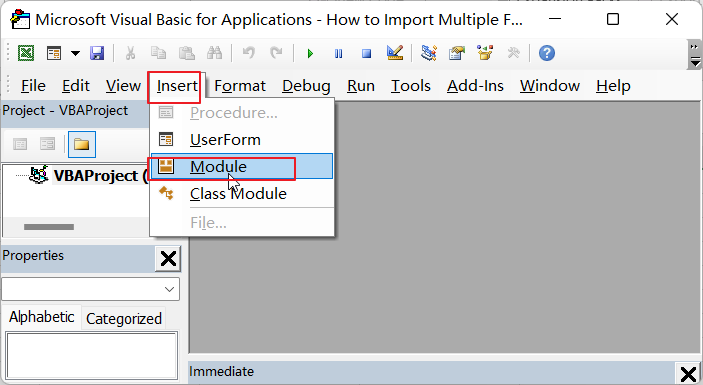
Step2: In the Visual Basic Editor window, select “Insert” from the top menu and choose “Module” to create a new module.
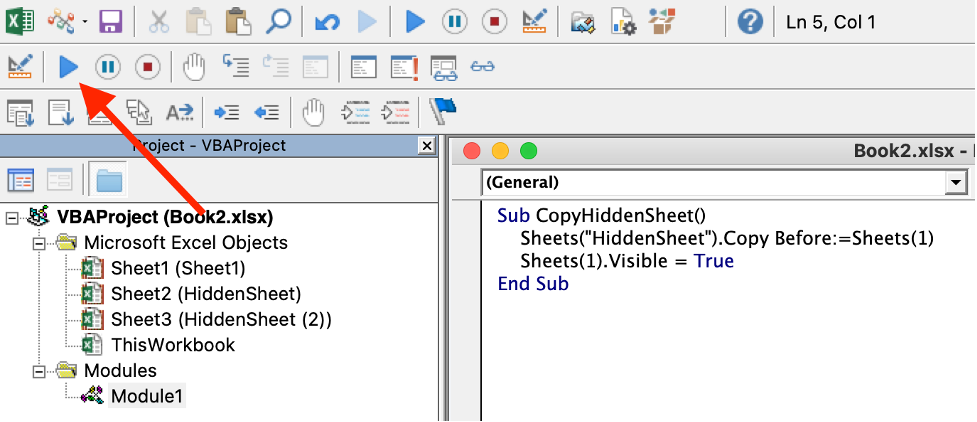
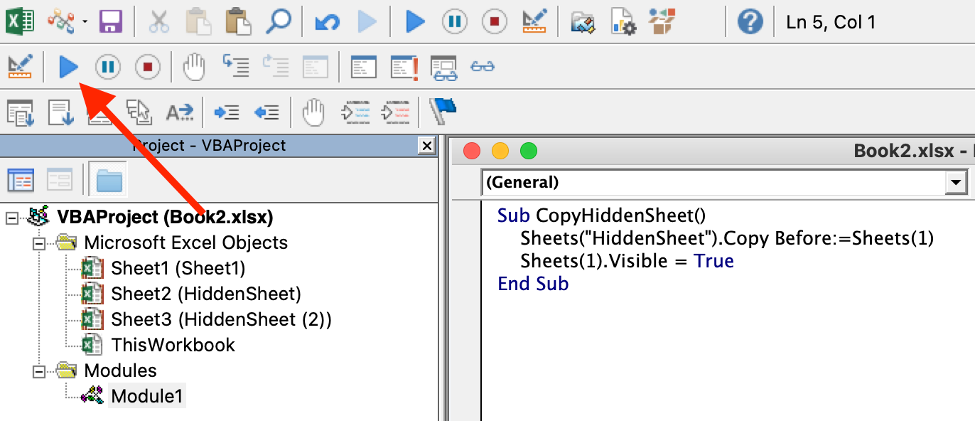
Step3: Copy and paste the following VBA code into the new module. Save the workbook with the VBA code.
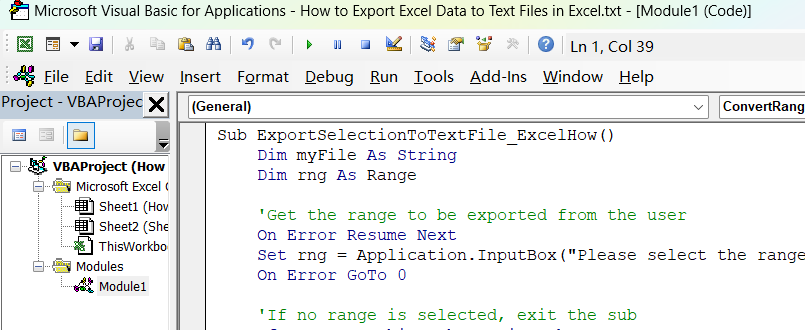
Sub ExportSelectionToTextFile_ExcelHow()
    Dim myFile As String
    Dim rng As Range

    'Get the range to be exported from the user
    On Error Resume Next
    Set rng = Application.InputBox("Please select the range to be exported:", Type:=8)
    On Error GoTo 0

    'If no range is selected, exit the sub
    If rng Is Nothing Then Exit Sub

    'Create a new workbook and copy the selected range to it
    Dim wb As Workbook
    Set wb = Workbooks.Add
    rng.Copy Destination:=wb.Sheets(1).Range("A1")

    'Get the file name and location for the text file
    myFile = Application.GetSaveAsFilename(InitialFileName:="ExportedData.txt", FileFilter:="Text Files (*.txt), *.txt")

    'If the user cancels the file selection, exit the sub
    If myFile = "False" Then Exit Sub

    'If the file name is not valid, display an error message and exit the sub
    If Len(myFile) = 0 Then
        MsgBox "Invalid file name. Please select a valid file name and location.", vbExclamation, "Export to Text File"
        Exit Sub
    End If

    'Save the new workbook as a text file and close it
    wb.SaveAs FileName:=myFile, FileFormat:=xlText, CreateBackup:=False
    wb.Close SaveChanges:=False

    'Display a success message
    MsgBox "Data has been exported to text file successfully!", vbInformation, "Export to Text File"
End Sub
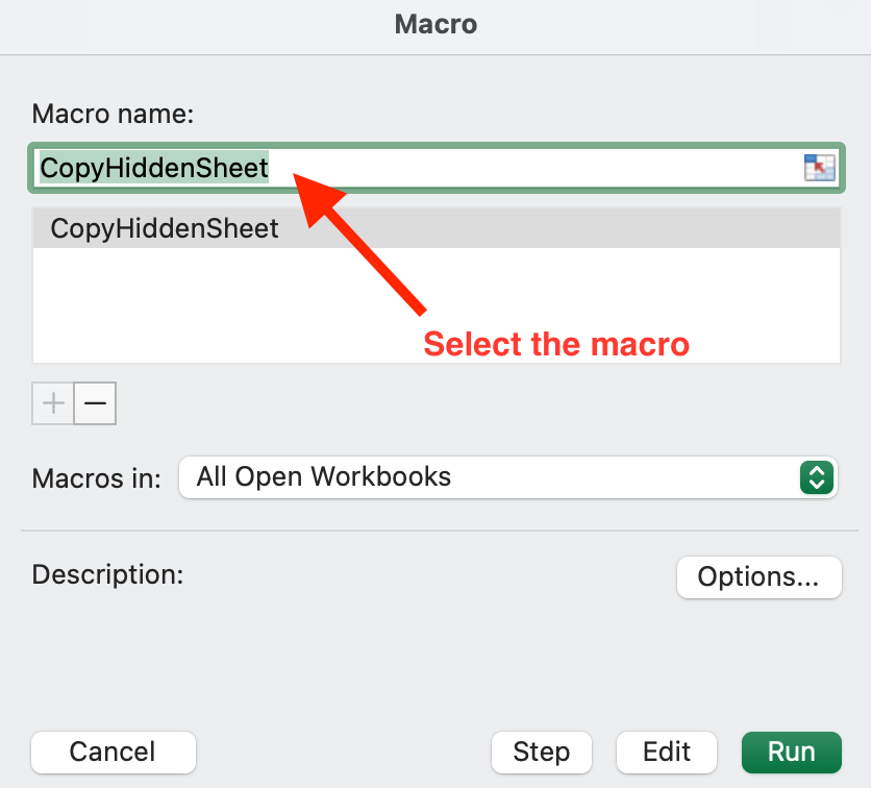
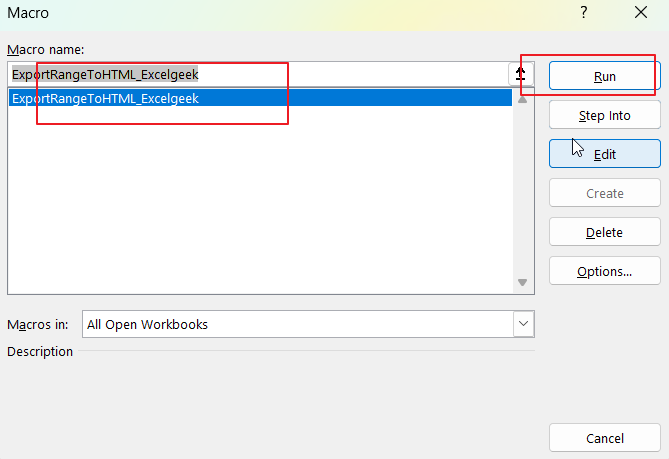
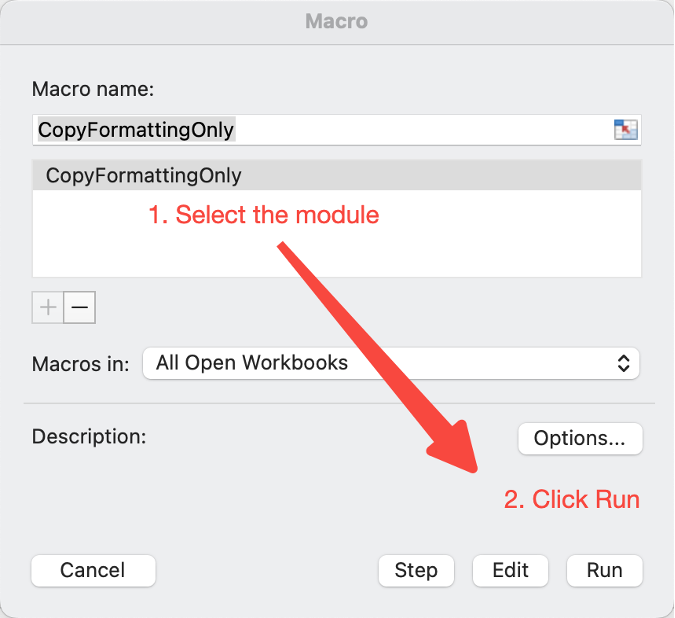
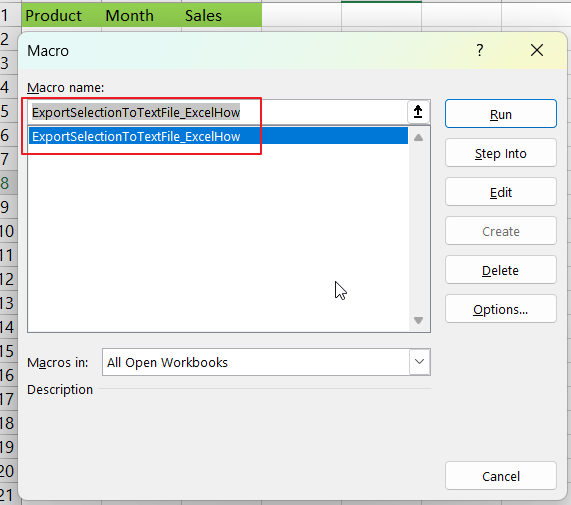
Step4: Press “Alt + F8” to open the Macro dialog box. Select the ” ExportSelectionToTextFile_ExcelHow” macro from the list of macros and click “Run“.
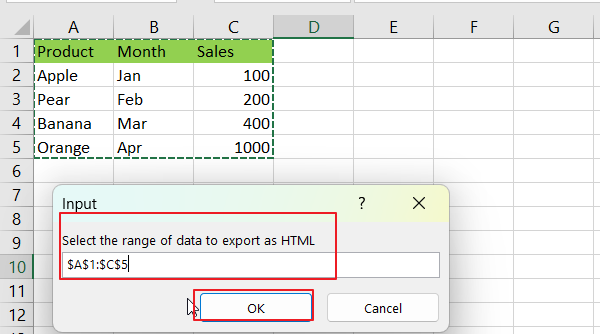
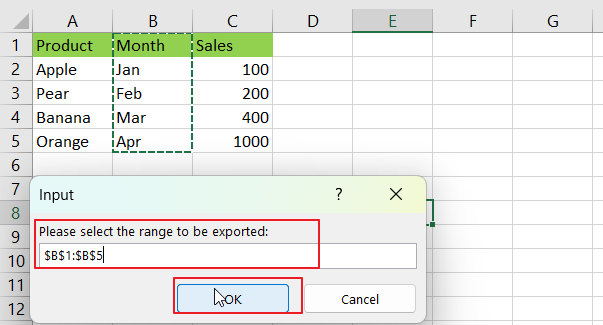
Step5: select the range to be exported
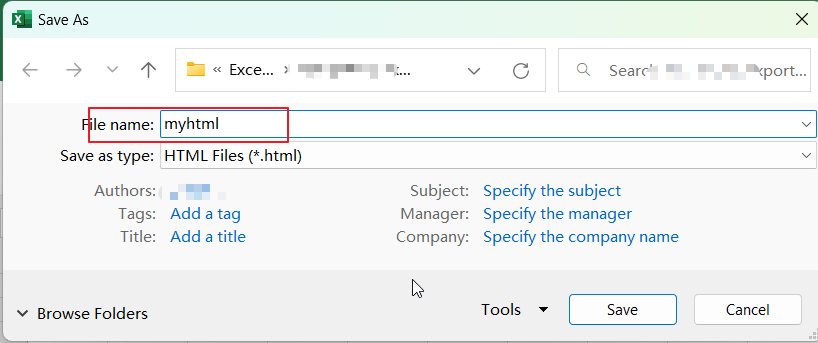
Step6: select a file name and location for the text file to be exported.
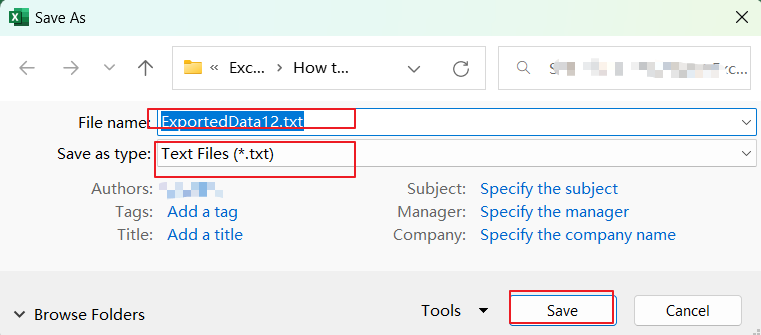
Step6: Click “Save” to export the selected range to the text file.
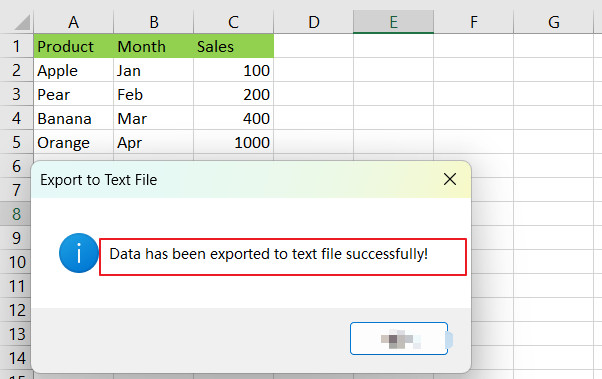
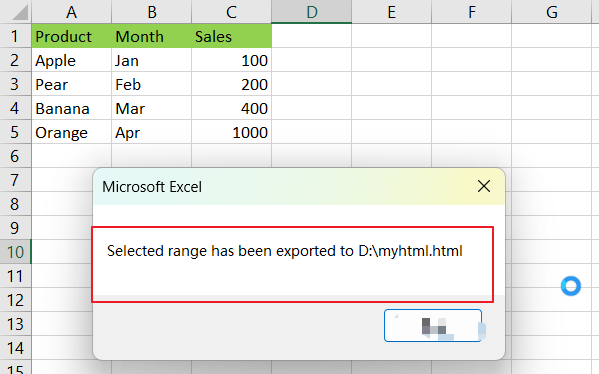
The selected range should now be exported to a text file in the location that you specified.
Video: Export Excel Data to Text Files This
This video will demonstrate how to export Excel data to text files in Excel using VBA Code.


