This post will introduce you to three methods for saving shapes as images in Excel.
- The first method involves using the copy and paste functionality to manually copy each shape to a temporary chart and then save the chart as an image.
- The second method uses VBA code to automate the process of copying the shapes to a chart and saving the chart as an image.
- The third method involves saving the worksheet as a web page, which automatically saves each shape as an individual image file.
Save Shapes as Images Using the “Copy and Paste” option
Step1: Select the shape you want to save as an image.
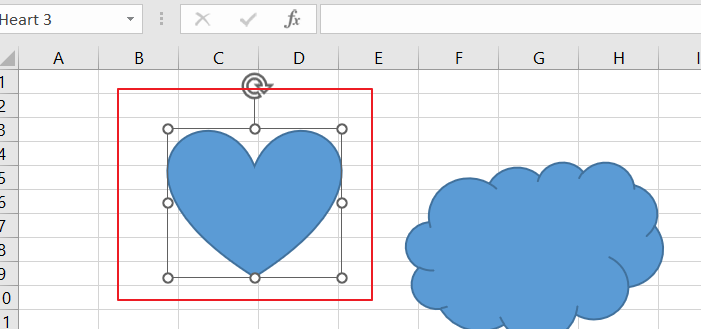
Step2: Press “Ctrl + C” to copy the shape to the clipboard.
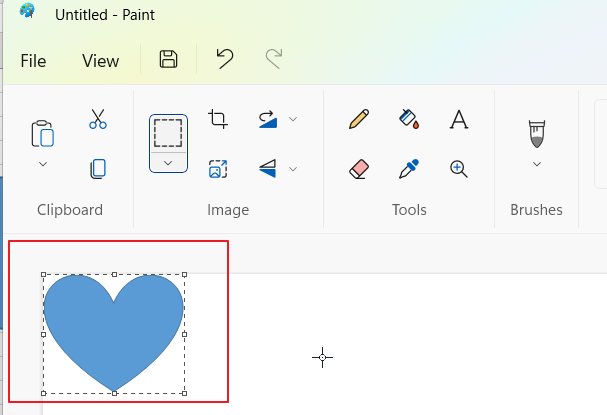
Step3: Open a new Microsoft Paint file or any image editing software of your choice. Press “Ctrl + V” to paste the shape onto the new file.
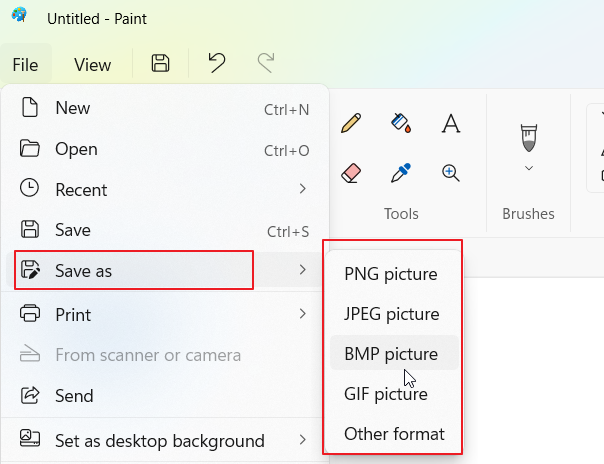
Step4: Save the file in your desired file format (such as PNG or JPEG) and select a location to save the image.
This method is useful for saving multiple shapes as images or for making edits to the shape before saving it as an image.
Save All Shapes as Image Using “saving as web page”
You can save all shapes on a worksheet as individual images by using Excel’s “Save as Web Page” feature. This feature converts the worksheet into a webpage and saves it along with all embedded objects, including shapes, as separate image files. Here’s how you can do it:
Setp1: Select the worksheet that contains the shapes you want to save as images.
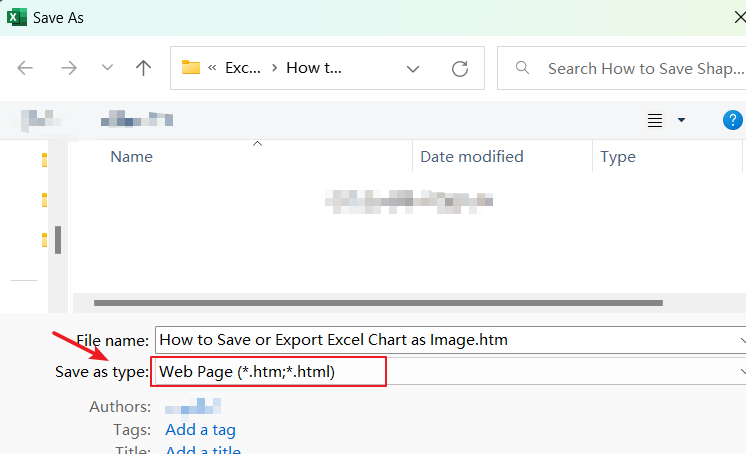
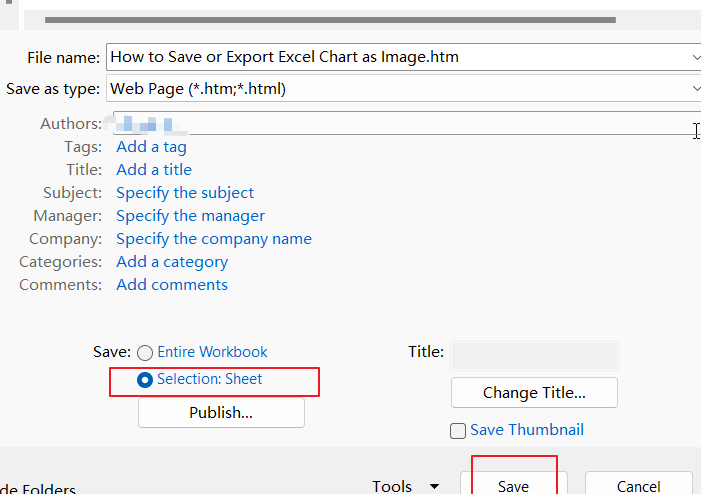
Setp2: Click on “File” in the top left corner of the Excel window and select “Save as“. Select “Web Page (.htm;.html)” in the “Save as type” dropdown menu. Choose a location to save the file and enter a file name.
Setp3: In the “Save As” dialog box, make sure that the “Selection: Sheet” option is selected. Click on Save button.
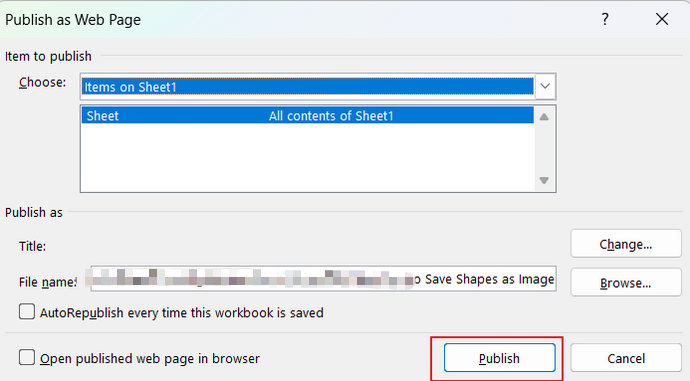
Step4: click on Publish buttonin the Publish as Web Page dialog box.
Setp5: Excel will now save the worksheet as a webpage, along with all embedded objects, including shapes, as separate image files in a folder named “yourfilename_files” (where “yourfilename” is the name you gave to the file in step 2).
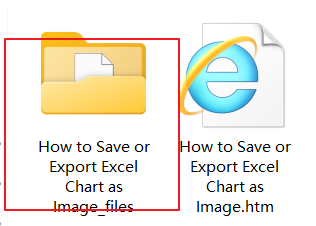
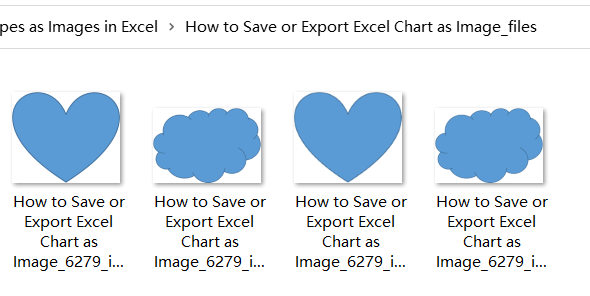
Setp6: Navigate to the folder where you saved the file, and you should see all of the images that correspond to the shapes on the worksheet.
Save Shapes as Image with VBA Code
You can use the VBA code to create a temporary chart object, pastes the selected shape inside the chart, and then saves the chart as an image. Just do the following steps:
Step1: Open the Excel workbook that contains the shapes you want to save as images.
Step2: Press Alt + F11 to open the Visual Basic Editor.
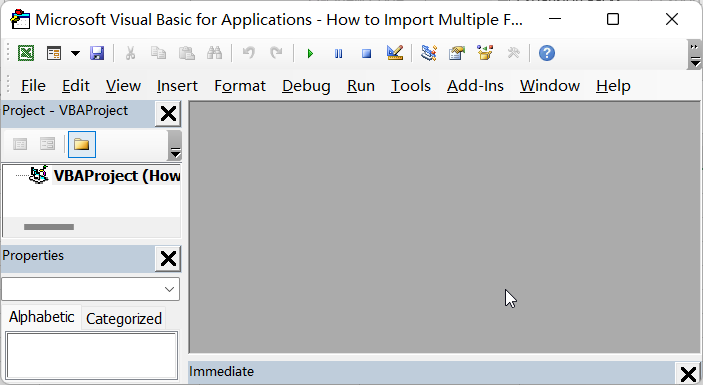
Step3: In the Visual Basic Editor, select Insert from the menu bar and choose Module.
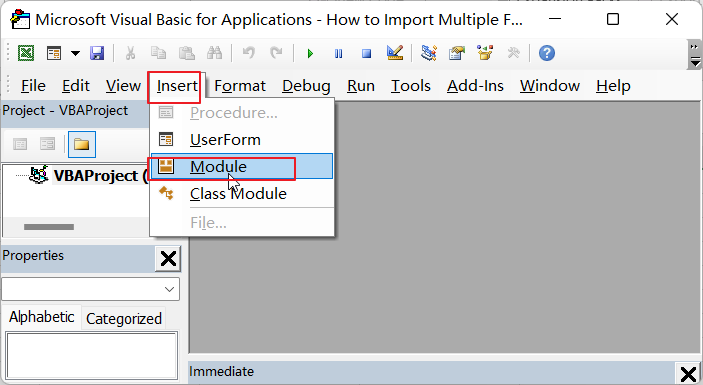
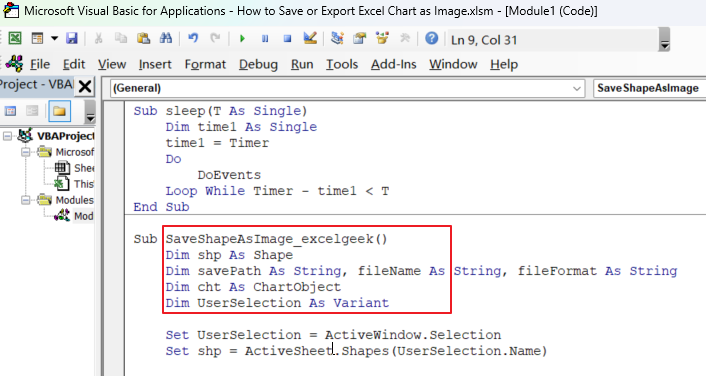
Step4: Copy the following VBA code for saving shapes as images and paste it into the new module (Module1).
Sub sleep(T As Single)
    Dim time1 As Single
    time1 = Timer
    Do
        DoEvents
    Loop While Timer - time1 < T
End Sub

Sub SaveShapeAsImage_excelgeek()
    Dim shp As Shape
    Dim savePath As String, fileName As String, fileFormat As String
    Dim cht As ChartObject
    Dim UserSelection As Variant

    Set UserSelection = ActiveWindow.Selection
    Set shp = ActiveSheet.Shapes(UserSelection.Name)

    ' prompt user for save location and file name
    savePath = Application.GetSaveAsFilename(InitialFileName:=shp.Name, _
        FileFilter:="JPEG (*.jpg), *.jpg, PNG (*.png), *.png")
    If savePath = "False" Then Exit Sub ' exit if user clicks cancel

    ' extract file name and format from save path
    fileName = Mid(savePath, InStrRev(savePath, "\") + 1)
    fileFormat = Mid(fileName, InStrRev(fileName, ".") + 1)
    fileName = Left(fileName, InStrRev(fileName, ".") - 1)

    ' create temporary chart object, set dimensions to shape dimensions, paste shape inside, and save as image
    Set cht = ActiveSheet.ChartObjects.Add(0, 0, shp.Width, shp.Height)
    shp.Copy
    Call sleep(2)
    cht.Chart.Paste
    cht.Chart.Export savePath, fileFormat
    cht.Delete
    Application.CutCopyMode = False

End Sub
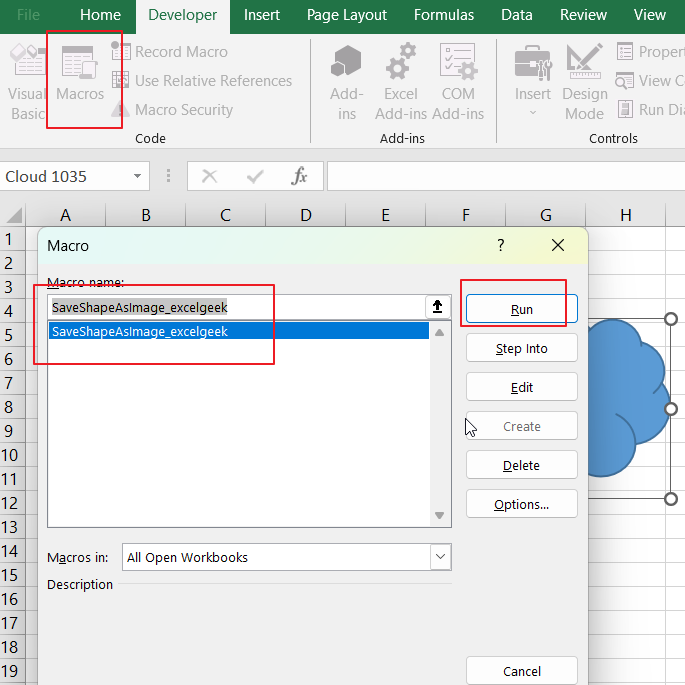
Step5: Press F5 or select Run from the menu bar to execute the code. Or Press ALT + F8 to open the Macro dialog box. Then select the macro named “SaveShapeAsImage_excelgeek” from the list of macros and click on “Run”.
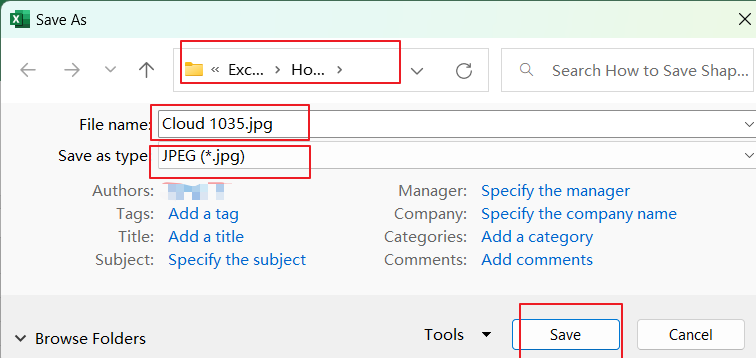
Step6: you need to specify the file format and location for the saved image.
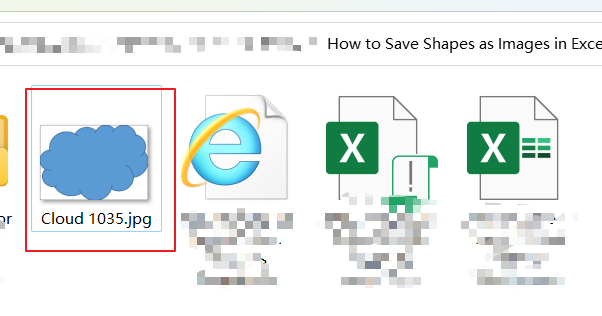
Step7: Check the file path you specified in the code to confirm that the images have been saved successfully.
Conclusion
There are three methods for saving shapes as images in Excel. The method you choose will depend on your specific needs and preferences. Whether you prefer a manual approach or an automated one, these methods provide several options for saving shapes as images in Excel.